The Complete Illustrated Guide To Using Scripts
 Files and Locations
Once installed Resorce Tuner Console, you will find the Demo folder nested in the directory where RTC has been installed. Within this Demo folder, there are 12 subdirectories containing sample scripts and sample executable files. This is how it looks in the Windows Explorer:
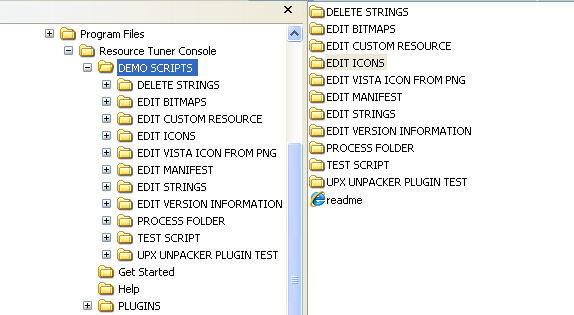
Within each of those subdirectories contain two or three folders: SRC (Source), RELEASE, and optionally DEFS (Definition Files). Let's expand the EDIT ICONS folder:
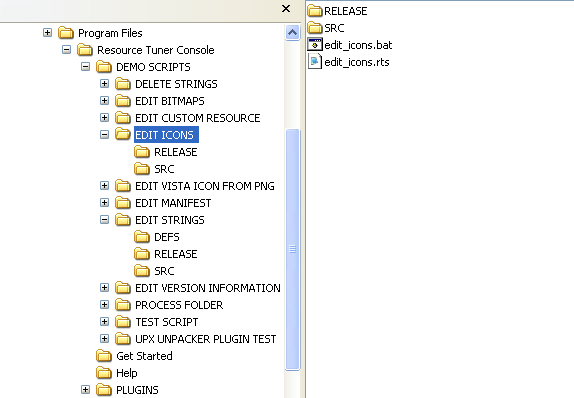
Within the EDIT ICONS folder there are also two files: edit_icons.rts (the RTC script, it's a plain text file, you can open it up with a text editor) and edit_icons.bat (the batch file to call the RTC script).
The SRC (Source) folder contains all the files needed to perform icon manipulations: the target file DemoApp1.exe with an ugly stretched default main icon, and two icon (.ICO) files. The vista_iconset.ico file is an icon set stuffed with multiple icon images of all sizes and color depths including the high-resolution Vista icon. The icon_3_32x32_8bit.ico file is a single 32x32 icon.
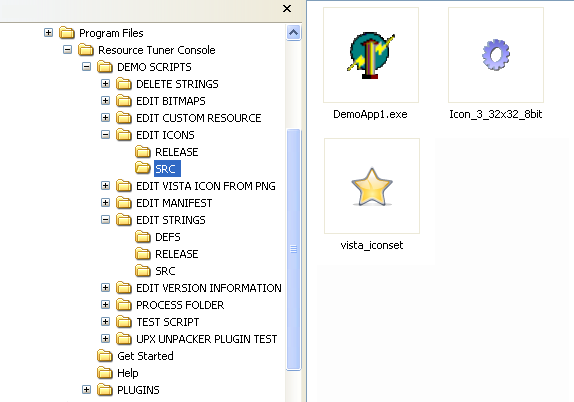
The RELEASE folder is currently empty. This is where we are going to save the modified EXE file.
The pathnames to these source and destination locations are specified in the script code:
  PEFileProxy.OpenFile ".\src\DemoApp1.exe"

  ...

  ResourcesProxy.ChangeIcon "", LangID, CREATE_IF_NOT_EXIST,
  	REPLACE_IF_ITEM_EXISTS, ".\src\vista_iconset.ico"
  ResourcesProxy.ChangeIcon "New Icon Group", LangID, CREATE_IF_NOT_EXIST,
  	REPLACE_IF_ITEM_EXISTS, ".\src\icon_3_32x32_8bit.ico"

  ...

  PEFileProxy.SaveAsNewImage ".\release\DemoApp1.exe"
Note: You can place the source .EXE and .ICO files wherever you want, in any directories, but you will have to replace the paths to source and destination locations in the provided sample script.
 The Target EXE File
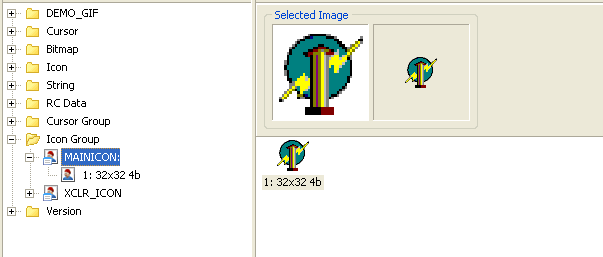
Now let's have a look at the icons inside the target file DemoApp1.exe before we go ahead. Open it up with Resource Tuner GUI. As you can see there's only one 4-bit 32x32 icon in the MainIcon icon group:
 Running The Script
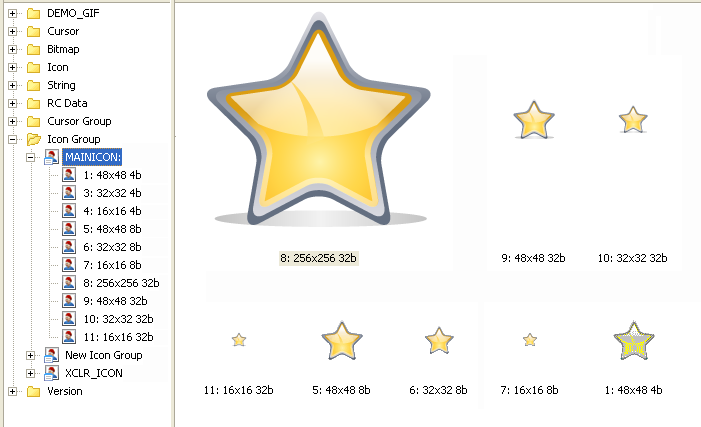
Now we are ready to replace this single main icon with 10 new ones, and add one extra icon to the newly created icon group. In this example we use 2 different icon files on purpose just to show you the flexibility and power of ResourceTuner Console.
To run the script, just double-click the edit_icons.bat batch file:
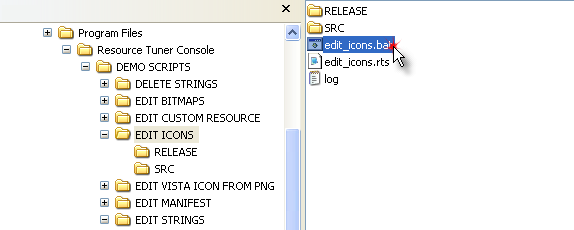
That's it. The icons have been changed within one second, the modified file DemoApp1.exe has been saved to the RELEASE folder. As you can see, a newly created log file log.txt has appeared in the EDIT ICONS root directory. The pathname to the log file location is specified in the bat file code.
 Time to See The Changes Made
Let's have a look at the icons inside the modified file DemoApp1.exe. Open it up with Resource Tuner GUI. We have just replaced the old main icon with the new ones:
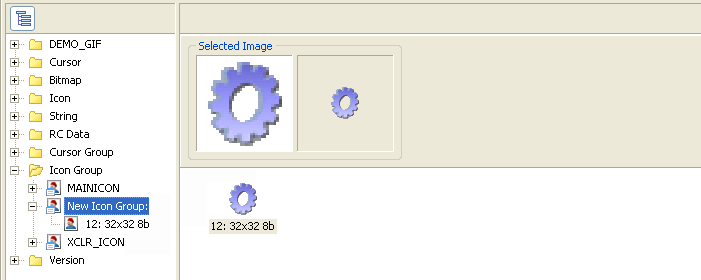
We have also added the new icon group named "New Icon Group ", and filled it with one new icon:
Not only does Resource Tuner Console handle the large Vista icons in .ico format, it supports adding Vista-style icons in .png format from stand-alone .png files. For greater detail, explore the EDIT VISTA ICON FROM PNG folder.
![]() Download Resource Tuner Console and learn how it can make you more productive.
Download Resource Tuner Console and learn how it can make you more productive.
If you have questions about Resource Tuner Console, please contact Technical Support.